

Last Updated: November 14, 2026
Quick Summary
Easy birthday cake decorating starts with a smooth or textured buttercream base, then adds color and one focal point. Beginner ideas like a sprinkle band, confetti cake, ombre frosting, fresh fruit topping, or a lay-on topper each take under 30 minutes once the cake is frosted. You can also skip piping entirely using frosting pens, stencils, sprinkles, and edible toppers.
- Chill a crumb coat for 15 to 20 minutes before applying the second buttercream layer.
- Press a sprinkle band into chilled frosting using light pressure to avoid smearing.
- Fold 1/3 to 1/2 cup of jimmies into batter at the end of mixing for a confetti cake.
- A lay-on topper takes under 5 minutes and works on any frosting style.
- Semi-naked cakes suit 60th birthdays and up, keeping slices lighter and the look elegant.
Table of Contents
- Start With the Finish: Frosting Techniques That Carry Any Design
- Easy Cake Decorating Ideas for Beginners
- Simple Cake Decorating Ideas at Home Without Piping
- Cake Decorating Ideas for Birthday Cakes for Adults
- Unique Birthday Cake Designs for Adults by Theme and Skill Level
- Scaling Decorations to Cake Size, Servings, and Storage
- Pick Up Your Decorating Kit at Jane's Cake and Baking Supply
- Frequently Asked Questions
Start With the Finish: Frosting Techniques That Carry Any Design
The frosting is the foundation of every great birthday cake decorating idea. Get it smooth or textured before a single sprinkle lands, and the rest of the design almost finishes itself. Master the base coat first, then decorate.
A crumb coat is a thin first layer of buttercream that traps loose cake crumbs so your final coat stays clean (How to crumb coat a cake). Chill the crumb coat for 15 to 20 minutes, then apply the second layer.
Smooth Buttercream With an Offset Spatula
An offset spatula is the single most useful tool for a smooth finish. Hold the blade flat against the side, spin the turntable slowly, and let the spatula do the work. Shop the Wilton 9" angled spatula to get that clean, even surface on your first try.
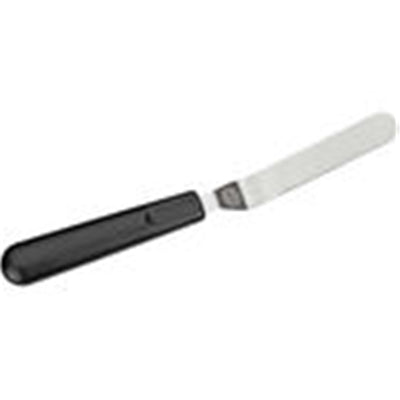
Watch out: pressing too hard digs grooves into the buttercream. Use light pressure and let the chilled cake firm up between passes.
Textured Sides With Patterned Scrapers
Patterned scrapers press a repeating design into the frosting while it is still soft. Buttercream or royal icing both work. A set of four patterns lets you match the look to the party. Browse the patterned side scraper set to add instant texture without piping skills.
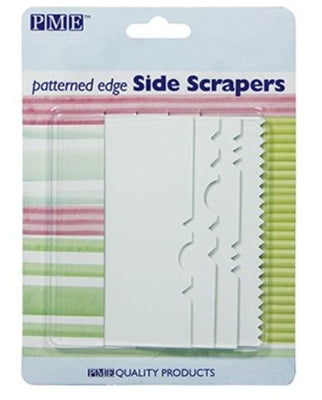
For a deeper walkthrough, our guide on how to create a two-tone frosting swirl covers the technique step by step.
Easy Cake Decorating Ideas for Beginners
Beginner-friendly birthday cake decorating comes down to three moves: smooth the base, add color, and finish with one focal point. You do not need steady piping hands to make a cake look intentional. Each idea below is labeled with a skill level and a realistic time estimate so you can pick one that fits your evening, and each includes the steps and the mistake most likely to trip you up.
1. Sprinkle Band (Beginner, about 10 minutes)
Frost the cake smooth and chill it for 15 to 20 minutes so the buttercream firms up. Cup your hand against the side of the cake just above the bottom edge and press a strip of sprinkles into the frosting in a narrow band, rotating the turntable as you go.
Watch out: pressing sprinkles into soft, unchilled buttercream drags the frosting and leaves a smeared edge, so chill first and use light pressure.
2. Confetti Cake (Beginner, about 15 minutes plus bake time)
Fold 1/3 to 1/2 cup of jimmies into the batter at the very end of mixing, then bake as directed. Once the cake is frosted, scatter a handful of the same sprinkles over the top so the inside and outside match.
Watch out: overmixing after the sprinkles go in crushes them and turns the batter gray, so fold gently and stop as soon as they are distributed.
3. Ombre Frosting (Beginner to Intermediate, about 30 minutes)
Divide one batch of buttercream into three bowls and tint each a shade deeper than the last, adding gel color a toothpick-tip at a time. Frost the cake in horizontal bands from lightest at the top to darkest at the bottom, then blend the seams with a clean offset spatula or bench scraper held flat against the side.
Watch out: adding too much color at once is hard to reverse, so build the shade gradually and keep a small bowl of untinted buttercream on hand to lighten a batch that goes too dark.
4. Fresh Fruit Topping (Beginner, about 15 minutes)
Pile berries, sliced strawberries, or peach wedges in the center of a frosted cake, working from the outside in so the tallest pieces sit in the middle. Pat the fruit dry first so the juice does not bead on the buttercream, and add the fruit within a few hours of serving.
Watch out: cut fruit releases juice that softens the frosting and can slide, so dry the pieces and assemble close to party time.
5. Lay-On Topper (Beginner, under 5 minutes)
Rest a pre-made acrylic or cardstock topper on the frosted surface, pressing it in just far enough to stand.
Watch out: a heavy topper on soft buttercream tips over, so chill the cake first or anchor the stem in a small patch of firmer frosting.
Each of these takes under 30 minutes once the cake is frosted. The sprinkle band is the fastest win for a beginner, and the ombre is the one that looks most impressive for the effort.
Simple Cake Decorating Ideas at Home Without Piping
You can decorate a birthday cake without piping at all. Frosting pens, stencils, sprinkles, and edible toppers replace the piping bag entirely, and the results still look polished.
The Nordic Ware EZ-Deco Frosting Pen works like a marker: fill the bag, insert it into the pen, and squeeze the lever to write or draw. Pick up the frosting pen to try it for yourself.
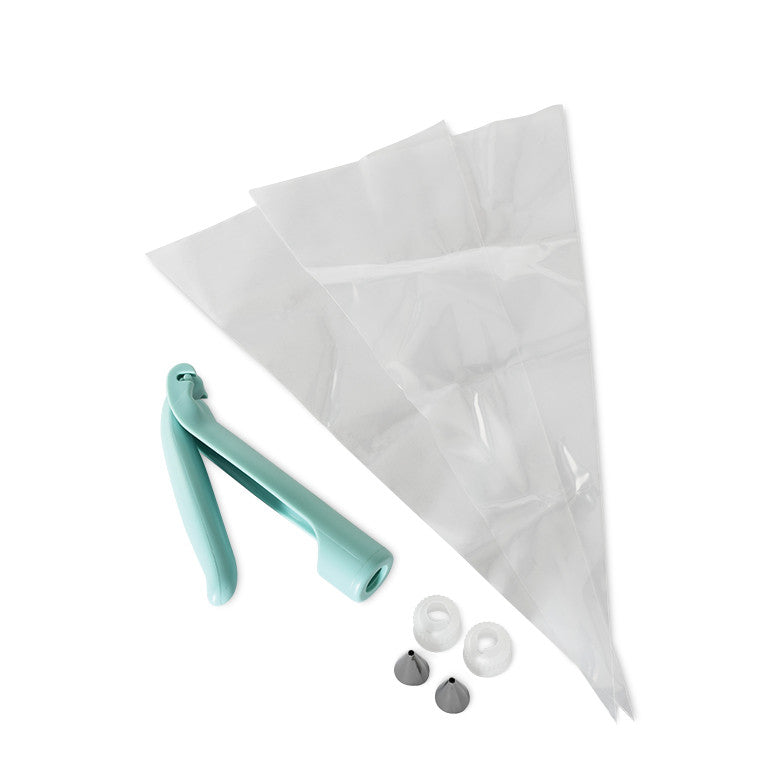
For lettering, a fondant cutter set lets you press out clean letters and numbers instead of piping a message freehand.
Cake Decorating Ideas for Birthday Cakes for Adults
Adult birthday cakes lean elegant: restrained color, metallic accents, and one strong focal point. Skip the cartoon characters and go for texture, height, and a little shimmer.
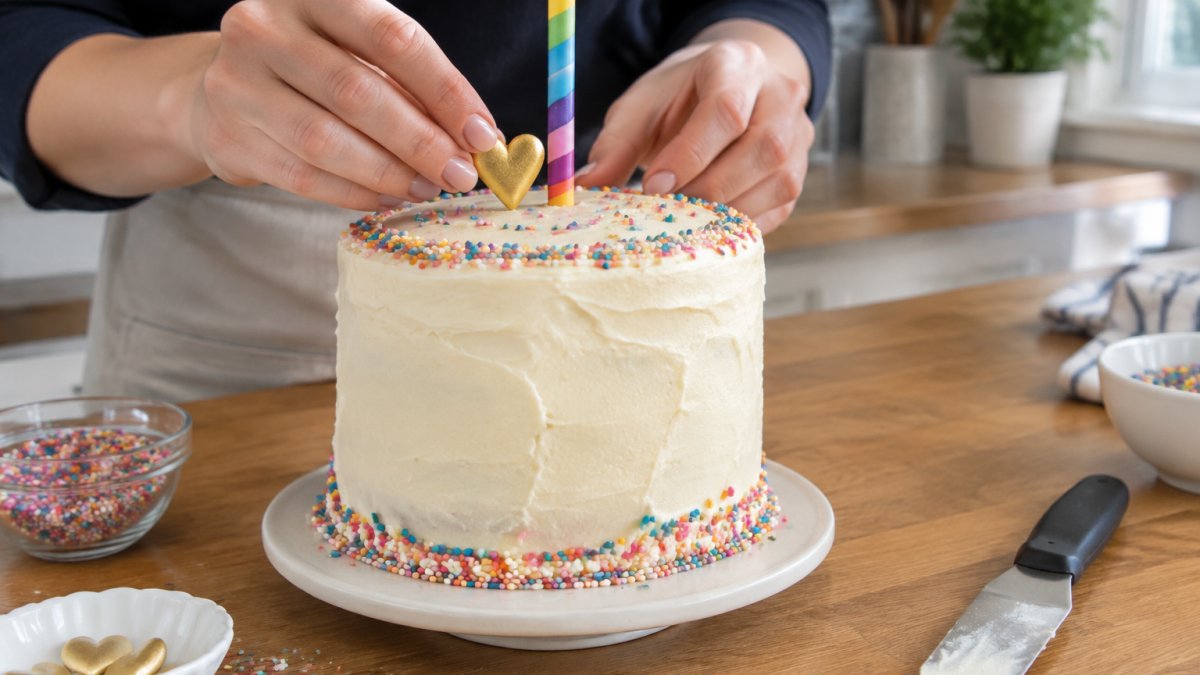
Metallic sprinkles and edible gold hearts add polish without much effort. Scatter them over a white buttercream base, or cluster them on one side for an asymmetric look.
For a modern look, try a semi-naked cake: apply a thin coat of buttercream and scrape most of it off so the cake layers show through.
Unique Birthday Cake Designs for Adults by Theme and Skill Level
Unique birthday cake designs for adults fall into clear skill tiers. Match the design to your comfort level and the time you actually have, then use the notes below to execute it and adapt it to the recipient and the party.
| Design | Skill Level | Time | Best For |
|---|---|---|---|
| Sprinkle confetti cake | Beginner | 15 min | Casual parties |
| Semi-naked with fruit | Beginner | 30 min | Garden or brunch parties |
| Ombre buttercream | Intermediate | 45 min | Milestone birthdays |
| Chocolate drip cake | Intermediate | 40 min | Chocolate lovers |
| Fondant lettering | Intermediate | 30 min | Personalized messages |
| Piñata cake | Advanced | 90 min | Surprise reveals |
Time
By Recipient and Age
For a 20s or 30s birthday, a chocolate drip cake with tall candles reads modern and photographs well. For a 40th or 50th milestone, an ombre buttercream cake in a single restrained color suits a dinner party better than a novelty design. For a 60th and up, a semi-naked cake with fresh flowers or fruit keeps the look elegant and the slices lighter. For a chocolate lover of any age, the drip cake is the surest crowd-pleaser.
By Party Theme
A drip cake suits a chocolate fan; a naked cake with edible flowers suits a spring celebration; a piñata cake with a candy center suits a crowd that wants a reveal. For a cocktail or black-tie theme, keep the palette to white, gold, and one accent and skip the sprinkles. For a backyard or brunch party, fruit and semi-naked finishes hold up better outdoors than fondant, which softens in heat and humidity.
How Each Design Actually Works
Semi-naked cake. Apply a thin coat of buttercream and scrape most of it off with a bench scraper so the cake layers show through.
Watch out: scraping too aggressively pulls crumbs into the finish, so start with a crumb coat and chill before the scrape.
Piñata cake. Bake two or three layers, cut a circle from the center of the middle layer, and fill the cavity with candy before stacking and frosting. Cut a small notch in the top layer so guests can see where to cut.
Fondant lettering. Roll fondant thin, press out letters with a cutter set, and attach them with a damp brush.
Scaling the Design to the Cake
Scale the decoration to the cake size: a single 8-inch layer needs one focal point, while a tiered cake can carry a repeating pattern. A 9x13 sheet cake has more surface area than a round of the same servings, so plan sprinkles and toppers by area rather than by guest count. For a two-tier cake, repeat the pattern on each tier and save the strongest focal point for the top.
Make-Ahead and Transport
Buttercream and semi-naked cakes can be frosted a day ahead and chilled; add fresh fruit and fondant accents the day of the event. Drip cakes hold up overnight once the ganache sets. Transport any cake in a box on a flat surface and keep it cool, because buttercream softens fast in a warm car.
Scaling Decorations to Cake Size, Servings, and Storage
Decoration quantities scale with the cake, not the guest count alone. A sheet cake has more surface area to cover than a tall layer cake of the same servings, so plan sprinkles and toppers by area.
Use this quick guide:
- 6-inch round, 8 to 10 servings - one focal topper, a single sprinkle band.
- 8-inch round, 20 to 24 servings - two decoration zones, one border.
- 9x13 sheet cake, 24 to 30 servings - full-surface design, wider borders.
- Two-tier cake, 40+ servings - repeating pattern plus a top focal point.
For storage, chill a frosted cake uncovered for 20 minutes to set the surface, then cover loosely. Fondant decorations should go on the day of the event.
Pick Up Your Decorating Kit at Jane's Cake and Baking Supply
Everything in this guide is on our shelves. Jane's Cake and Baking Supply stocks the spatulas, scrapers, sprinkles, candles, and toppers that make birthday cake decorating feel manageable, whether you are frosting your first cake or your fiftieth.
Grab a Happy Birthday lay-on topper to finish your cake in seconds,
Decorating a birthday cake that looks store-bought is a matter of the right tools and a little practice.
Frequently Asked Questions
How can I decorate a birthday cake at home without piping skills?
Skip the piping bag and let the frosting do the work. Spread buttercream with a 9-inch angled offset spatula for smooth sides, then press a patterned side scraper against the cake while the frosting is still soft to create ridges or swirls. From there, add sprinkles, a lay-on topper, or fondant letters cut with a set like the Wilton Alphabet/Number Cut-Outs Set.
What are some easy cake decorating ideas for beginners?
Start with one strong finish and one simple topping. A confetti cake covered in rainbow sprinkles takes minutes and hides uneven frosting. A semi-naked cake, where you scrape most of the buttercream off the sides, looks intentional even when your smoothing is imperfect. Add tall candles and the cake reads as decorated. Practice on a sheet cake first, since flat surfaces are more forgiving than tiered rounds.
How do I scale decorations for different cake sizes and serving counts?
Match the decoration to the surface area, not the recipe. A 9x13 sheet cake serves roughly 20 to 24 and needs a wide band of sprinkles or a full icing sheet to avoid looking sparse. An 8-inch round layer cake serves 12 to 16 and suits a single centerpiece topper with candles. For taller cakes, keep side texture fine and put the visual weight on top, since guests see the top first when the cake sits on a table.
Can I decorate a birthday cake ahead of time and still have it look fresh?
Yes, with the right order of operations. Frost the cake up to two days ahead and refrigerate it uncovered for 20 minutes so the buttercream sets, then wrap it. Add sprinkles, fresh fruit, and candles the day of serving, because sprinkles soften and fruit releases moisture overnight. Fondant cut-outs and lay-on toppers hold up well and can go on a few hours before the party. Transport the finished cake chilled and let it sit at room temperature for about 30 minutes before cutting.


